Resource-only change
romfs replacement → check priority → start the game again. These files do not require lifting the console’s code again.
NX2NAVI / MODS WALKTHROUGH
Open Mods in the NX2navi launcher, choose Add a Mod for an archive or Add a Mod Folder for extracted files, then check the mod’s On/Off row. Load Order decides which duplicate resource wins. A new code patch can require a rebuild before Play.
NX2navi 0.10.1 · Switch 2 Ocarina of Time 1.1.1 · Reviewed 14 November 2026
Start with a working, unmodified game. These steps use the 0.10.1 launcher and game update 1.1.1. Mods for the N64 game or Ship of Harkinian use a different project and file layout.
If the base game has not launched yet, finish the NX2navi installation guide first.
Close the game and choose Mods on the launcher’s main menu, below Saves. Use the import control that matches the files you have.
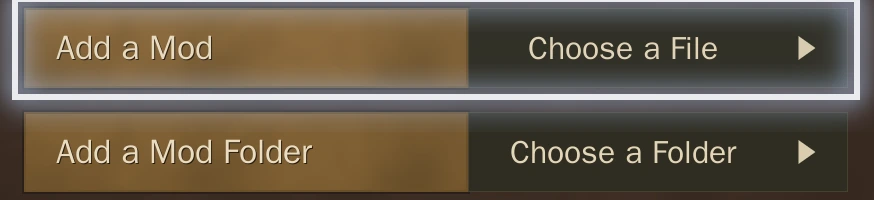
Archive → Add a Mod; extracted folder → Add a Mod Folder
Actual English controls from the 0.10.1 source launcher: Add a Mod selects an archive; Add a Mod Folder selects a directory.
Image source ↗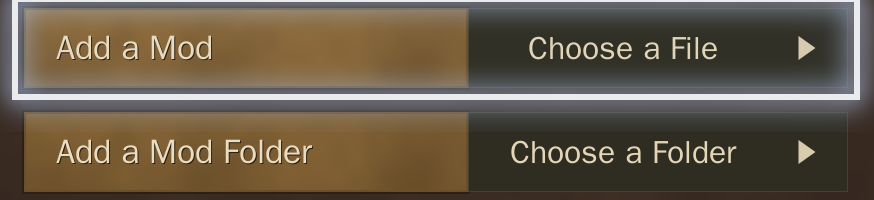 Open full-size image ↗
For a .zip, choose Add a Mod. Windows 10/11 also uses its system archive tool for .7z and .rar. For an extracted mod, choose Add a Mod Folder and select the folder containing romfs, exefs, cheats or the supported Atmosphere tree.
The launcher unpacks or copies the chosen files into a separate folder under mods. An archive with one extra wrapper folder is normalised automatically. Keep the original download so you can return to it if the mod package has options to select.
Select the imported mod. Its description lists replacement resources, code patches or cheats, and any conflicting mod.
An enabled, usable mod is read at the game’s next start. If the row says Not Usable, follow the stated reason before pressing Play.
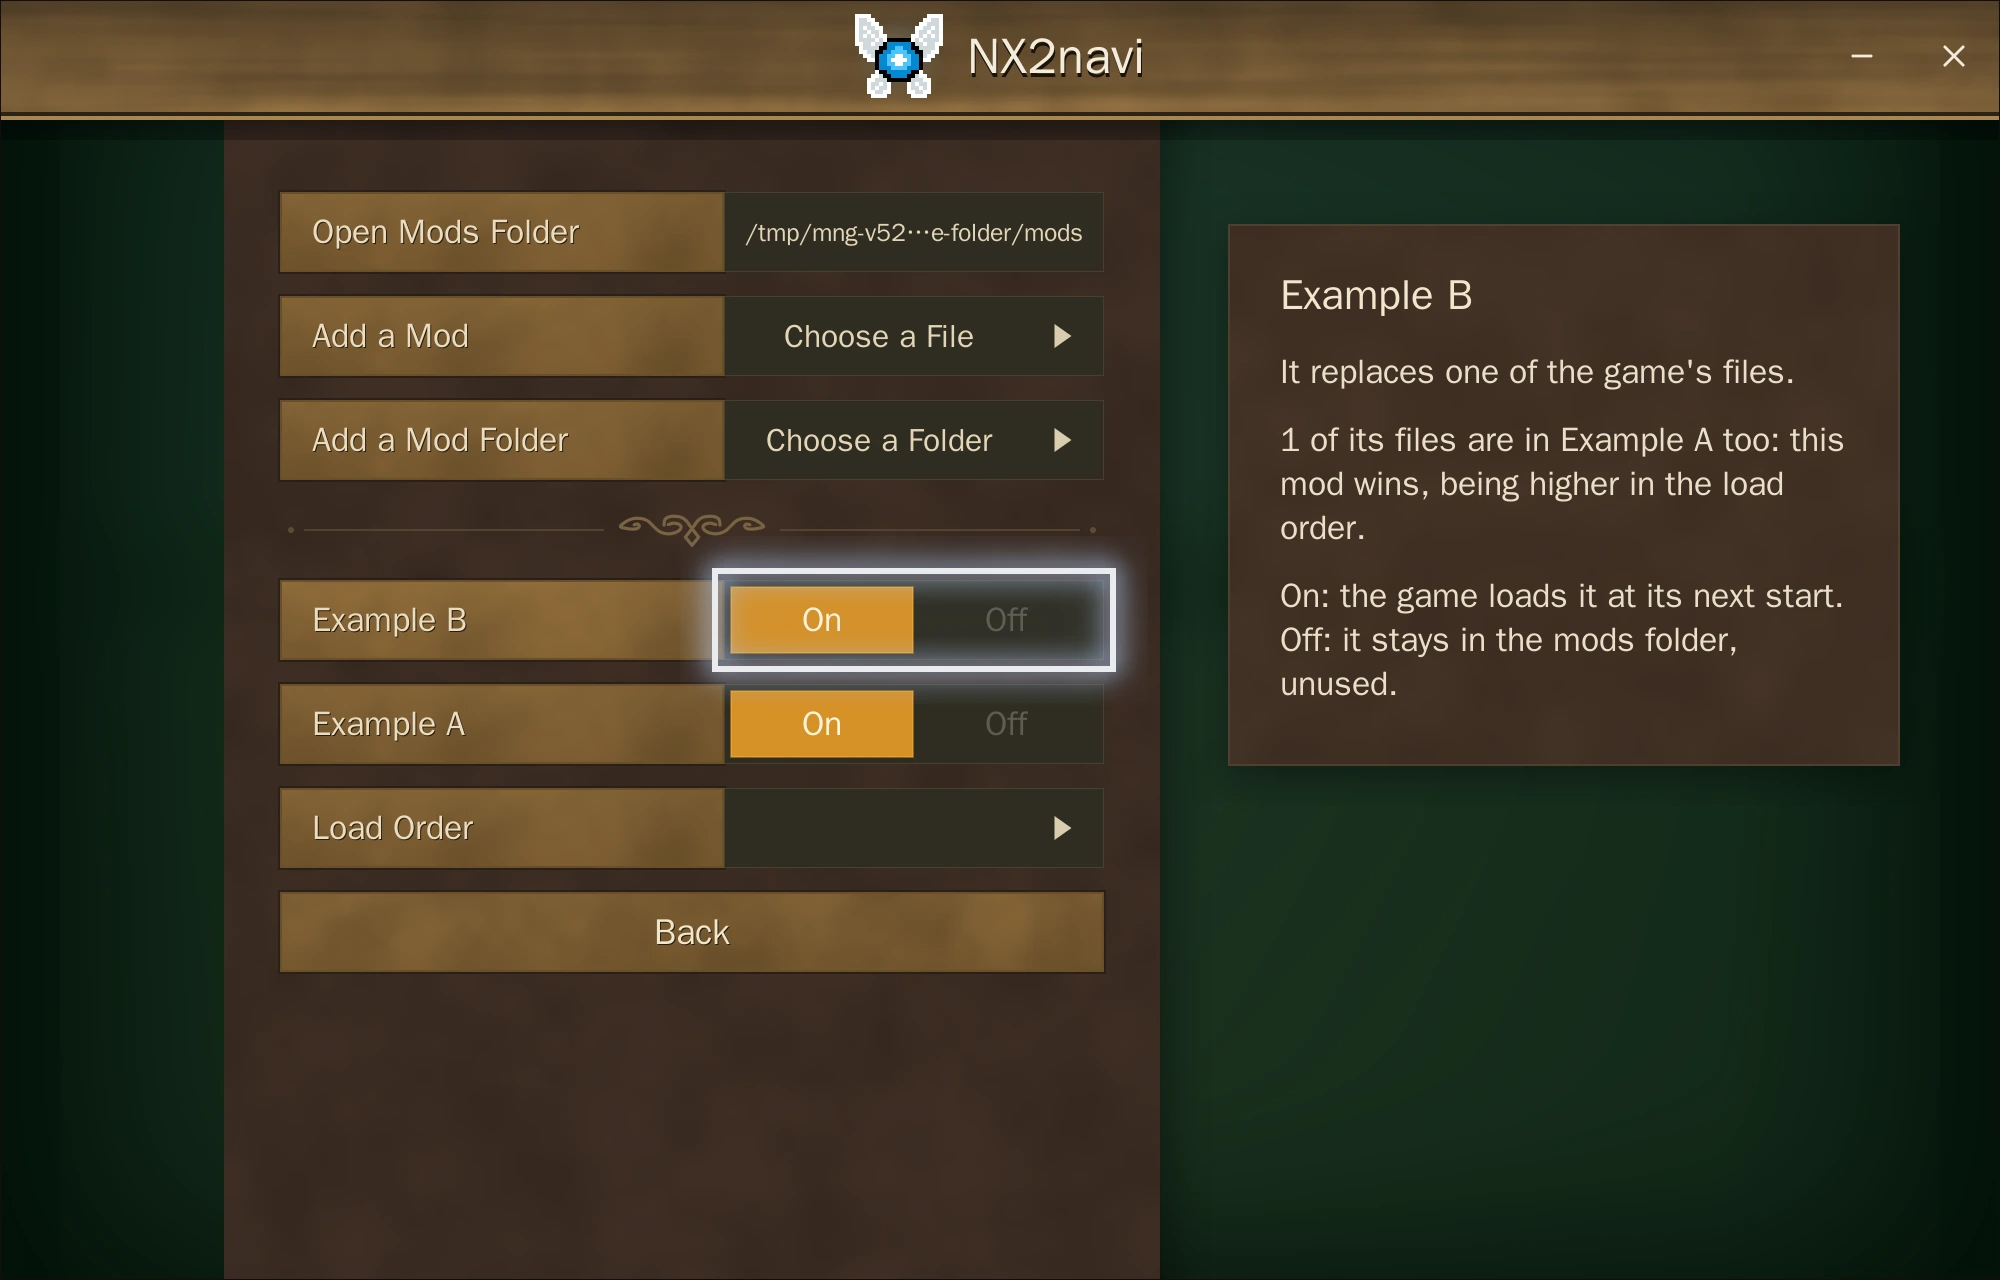
On enables a mod for the next game start
The description names the competing mod and winner
The real 0.10.1 launcher with two original sample folders, Example A and Example B. Each holds the same harmless example.txt path so the description can show a file conflict; these are folder-layout examples.
Image source ↗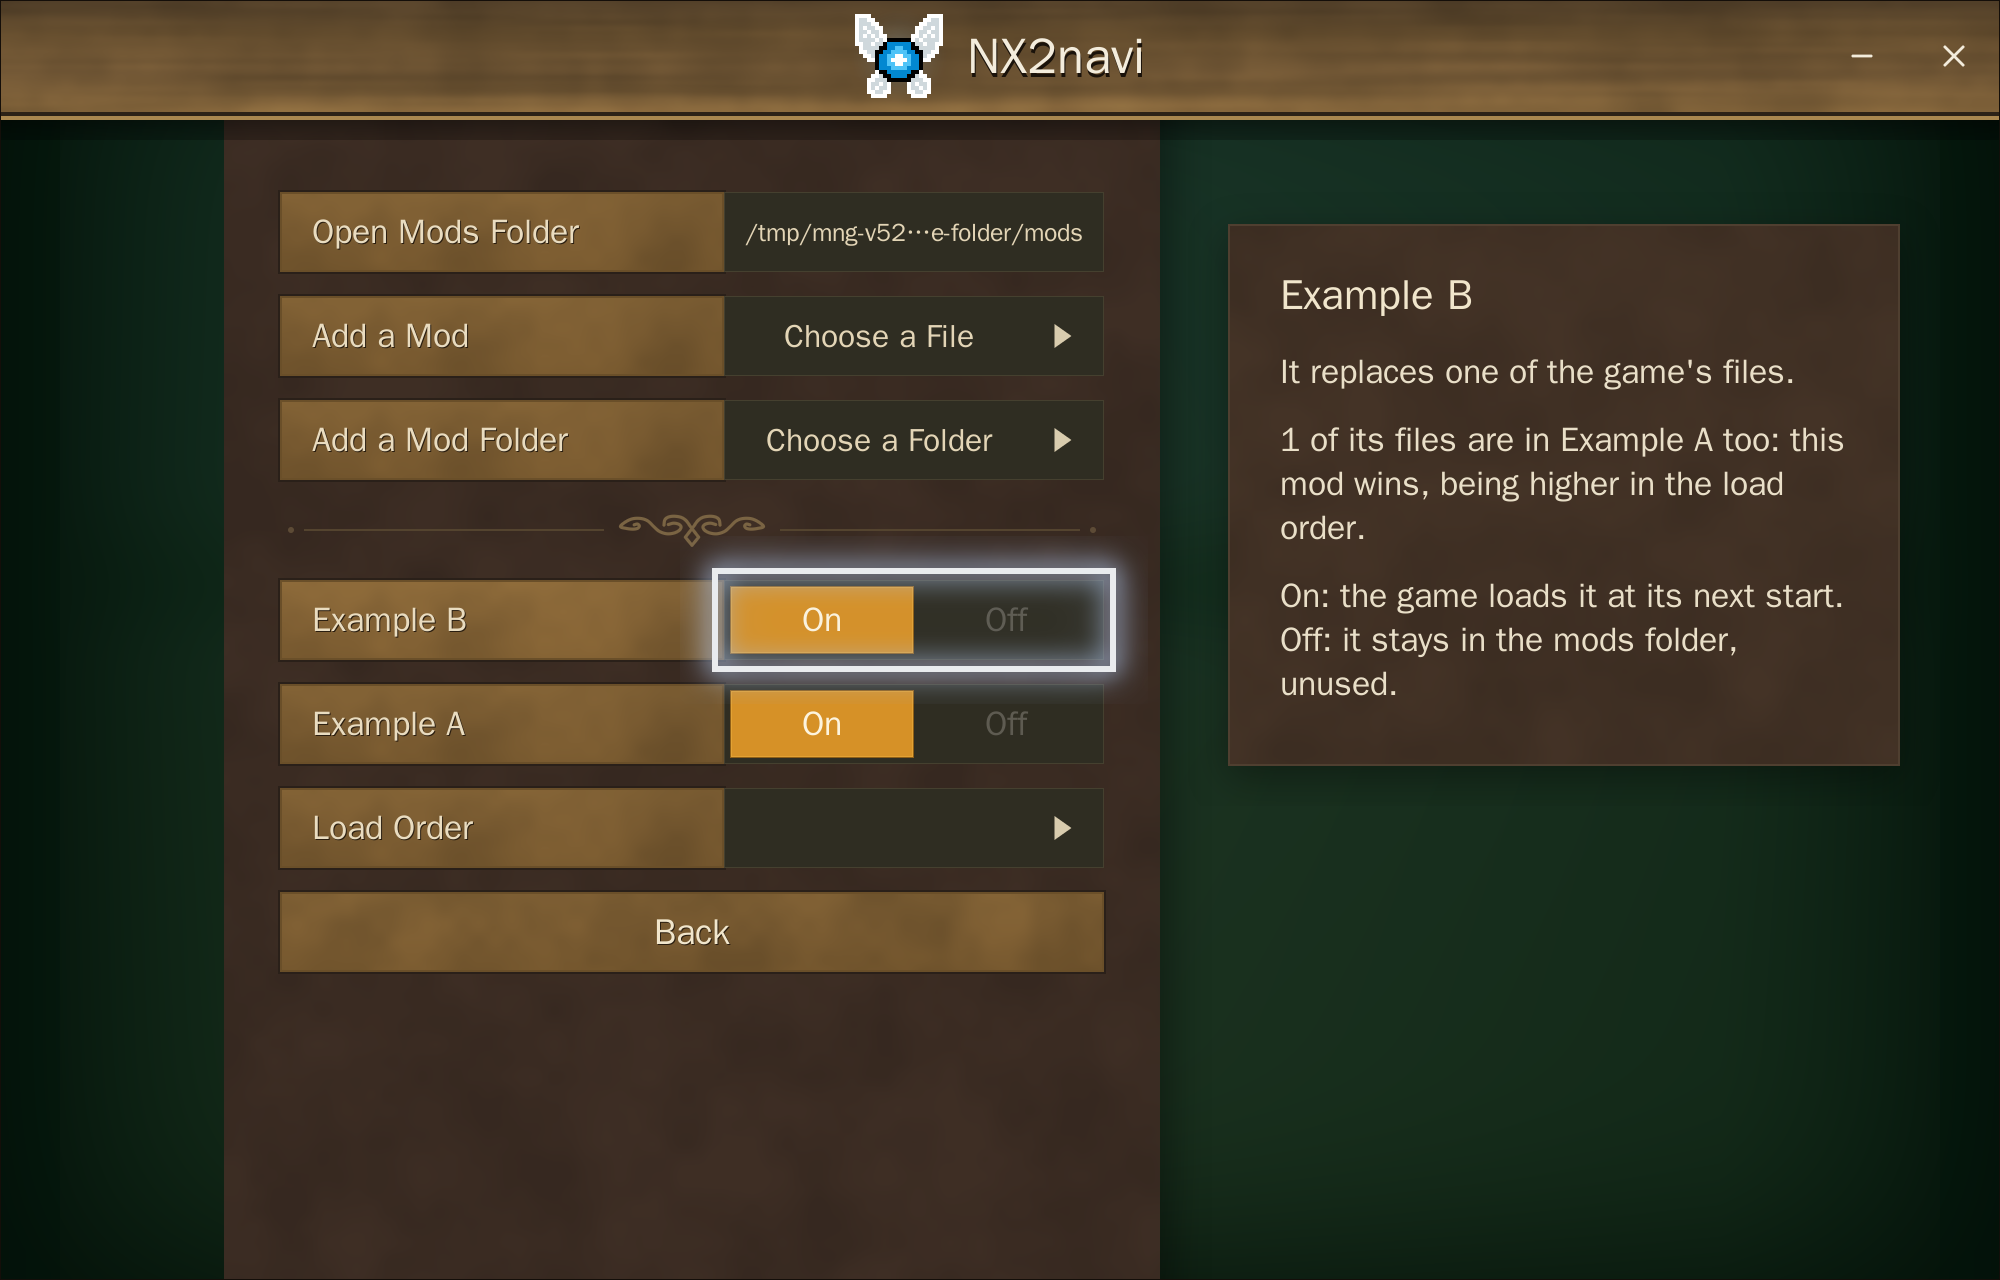 Open full-size image ↗
Return to the main menu and choose Play. Let a requested code rebuild finish, then load your usual save and check the area the mod changes. Quit the game before changing the next mod or its order.
Use Mods → Open Mods Folder to open the active location. The default is mods inside the built game folder, with one directory for each mod. mods_dir in nx2navi.ini can name another resource-mod location; code-mod builds read the game folder’s own mods directory.
game/
└── mods/
    └── My Mod/
        ├── romfs/
        ├── exefs/
        └── cheats/
The launcher also recognises the Atmosphere form below. The title directory must match 0400486024DEC000. Keep the author’s relative resource paths inside romfs.
My Mod/
└── atmosphere/
    └── contents/
        └── 0400486024DEC000/
            ├── romfs/
            ├── exefs/
└── cheats/.ips or .pchtxt code patches. Their game build ID must match; a code-module download such as subsdk* has a different requirement and can be refused.A download containing several alternative mod folders needs a choice. Select the intended option’s folder rather than treating every alternative as one mod.
The higher mod in Load Order wins a duplicate resource path. This applies to enabled resource replacements. It does not combine two code patches or make an incompatible patch usable.
WORKED FOLDER EXAMPLE
romfs/example.txt → this file wins.Move Example A above Example B to reverse the winner. Disable one of them to remove this resource conflict.
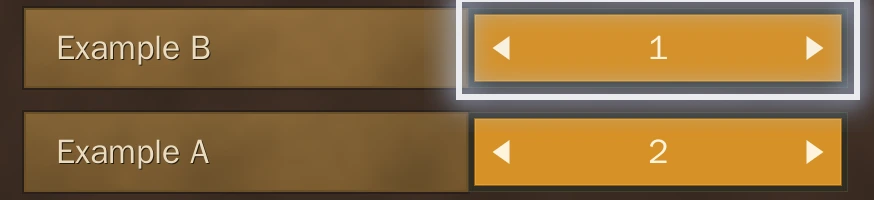
Position 1 wins the shared resource
Actual 0.10.1 Load Order controls with the same Example B / Example A sample folders. Select a row and use its left/right control to move it. The number is its priority position.
Image source ↗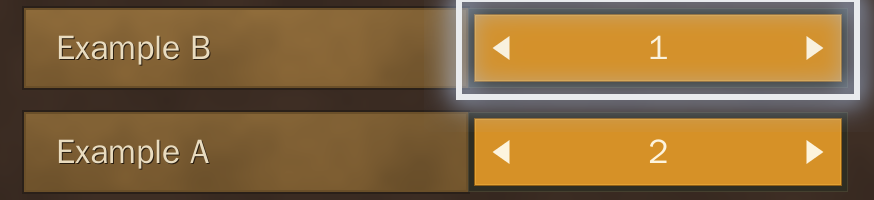 Open full-size image ↗
Changing the order affects duplicate files. Each mod’s non-conflicting resources can still load, so disabling the whole mod is the clearer test when isolating a fault.
Ahead-of-time code patches must be included in the compiled game. When an enabled mod adds code that the current build has not incorporated, the launcher shows Build Waiting; Play rebuilds the changed code first and starts the game afterward.
romfs replacement → check priority → start the game again. These files do not require lifting the console’s code again.
exefs / code cheat → build checks patch files → translate and compile affected code → Play. Existing prepared shaders stay.
mods directory.build-cache or shader folders.The build records incorporated mod code in build-cache/mod-code.json. Keep that file with the build cache. For an ordinary program update, use the separate version-specific upgrade steps.
mods. A retained archive can be unpacked again on the next preparation pass.Turning a mod Off keeps it installed for later use. Deleting its files is separate from restoring progress: use your exported save if you also need to return to an earlier game state. Follow the save backup and restore steps →
Still fails with the changed mod disabled? Use the version and platform diagnosis to separate a base-game crash from a mod conflict.
Select it and read the reason. The launcher distinguishes an unsupported code module, alternatives that need selecting, another game or update, unsupported patch content, and a folder with no readable mod files. Choose a package matching this game’s 1.1.1 update, or import the selected alternative folder.
romfs.Use the game folder’s own mods directory and match the code patch’s build ID. Check whether Play requests a rebuild and let it complete. The folder’s existence alone does not make a patch for another game update compatible.
Keep the error text. The importer rejects paths that escape their destination and names Windows cannot preserve, including device names, trailing dots/spaces and invalid characters. Use a corrected package or rename the offending entry if the mod author’s layout permits it; renaming only the outer ZIP does not change files inside.
Find the F8 capture and report steps → · Continue with base-game troubleshooting →
English screenshots show the unmodified 0.10.1 launcher. The conflict example uses two original sample folders so you can follow the priority change independently of any downloaded mod.