BEFORE PLAY
Setup, download or build failed
In the Windows launcher, use Settings → Open Logs Folder and keep launcher.log. After a failed job, also use Copy Report. For a native Linux build, preserve the AppImage window or terminal output.
NX2NAVI / RECOVERY GUIDE
Choose your platform, NX2navi version and failing stage to get an ordered plan. Start with the matching log, make one reversible change, then repeat the same save and scene. The selector also prepares a report you can copy into GitHub or a support chat.
NX2navi 0.10.1 · Game 1.1.1 · Windows & Linux · Reviewed 14 November 2026
Choose the build you actually launched. A Windows package through Proton has different logs and driver context from a native Linux build. If you cannot open the game, choose “Find my version first.”
Keep your installed game folder and exported save while comparing. The detailed steps below also work without the selector.
BEFORE PLAY
In the Windows launcher, use Settings → Open Logs Folder and keep launcher.log. After a failed job, also use Copy Report. For a native Linux build, preserve the AppImage window or terminal output.
AFTER PLAY
Open the installed Game Folder, then logs. Keep nx2navi.log from the failed run before reopening the game. If the game is still running, use F8 to capture the bad state.
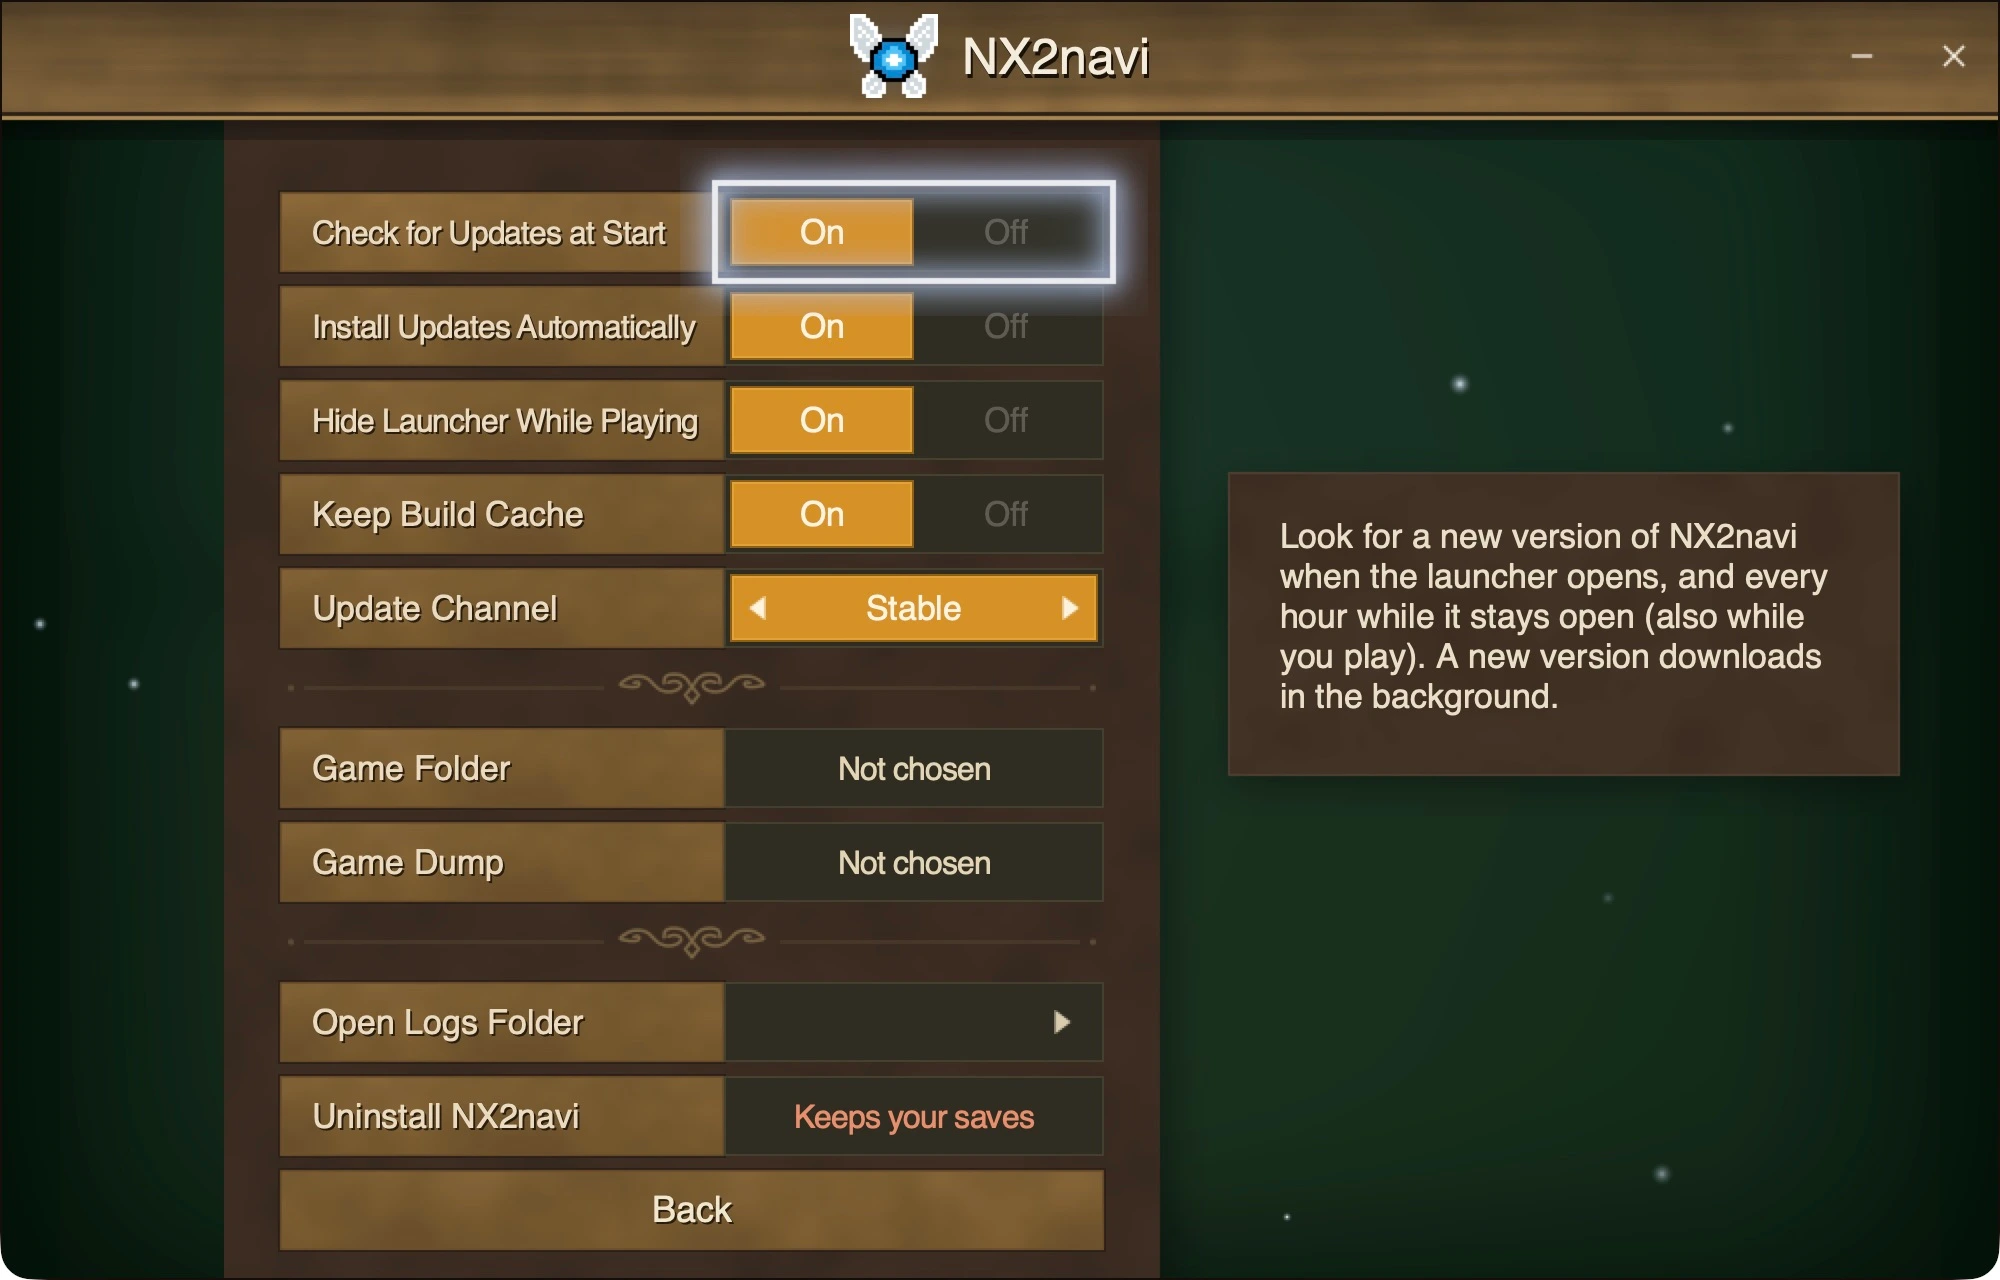
Game Folder → game settings, saves and game logs
Open Logs Folder → launcher.log
Real English 0.9.2 launcher controls, also present in the current source. Game Folder is the installed game location; Open Logs Folder opens the launcher’s logs. This sample has no game folder selected.
Image source ↗ Open full-size image ↗
Read the startup line in launcher.log, or search the game log for [host] version NX2navi. When the game opens, check its F1 menu. Record the complete program version separately from the game’s 1.1.1 update.
This guide targets Switch 2 Ocarina of Time 1.1.1, title ID 0400486024DEC000. A base dump missing that update, an N64 ROM or a different game needs a different input. Use the required-file checklist; changing NX2navi does not update your game dump.
Keep Copy Report or the full build output. A named download failure calls for a connection/file retry; a disk error needs space on the output drive; a missing Linux compiler or library needs the native build prerequisites. Follow the named cause before changing unrelated graphics settings.
Updating from 0.10.0 to 0.10.1 compiles only a few changed files. An older installation redoes translation for 0.10.0’s timing fixes. Keep the game folder and build cache, and use the launcher’s update/rebuild steps.
Shader preparation can pause on a count while work continues. Look for a failed stage or error message before stopping it. A driver update can also cause driver-side shader preparation to run again.
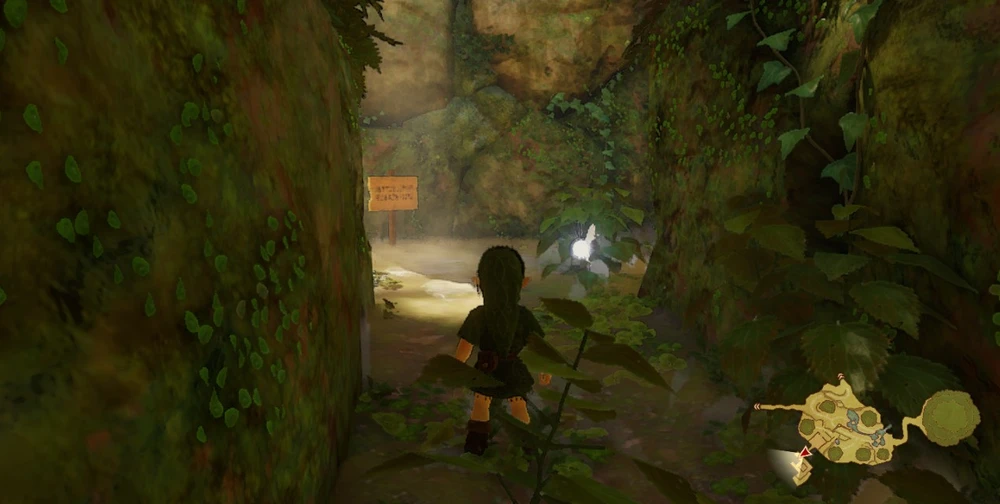
Note whether menus, the minimap and sound continue, then capture the affected area. These images are from one 0.9.2 Windows report on an RX 580 2048SP, using game 1.1.1.
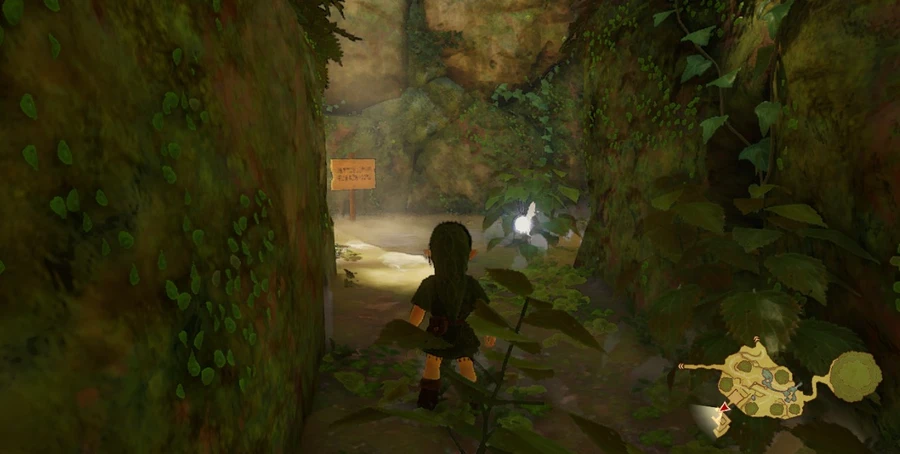
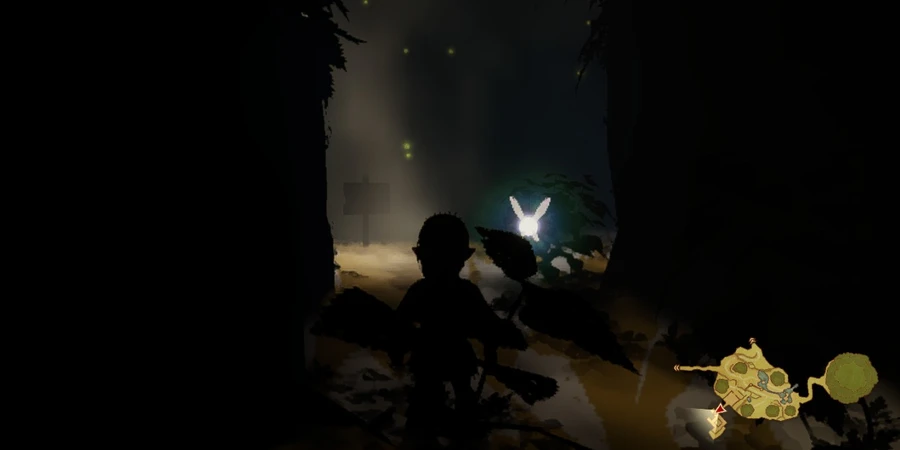
For older FSR mode-switch or hidden-HUD image problems, 0.9.2 includes specific fixes. For a current failure, keep the current log and compare one setting at a time.
Start with the lines immediately before the exit. In a 0.10.1 native Linux report, an RX 6700 XT on Mesa RADV logs “Not enough memory for command submission” before device loss and code 72. That is a different context from a Windows system-commit warning.
system commit low message. Follow the upstream memory guidance when that message is present.mem: messages. For non-NVIDIA graphics, the udmabuf prerequisites affect memory sharing.If the log identifies memory pressure, compare lower texture detail and fewer memory-heavy applications. Preserve the original setting, change one item, and repeat the same area.
Check the program version before reducing picture quality. 0.10.1 fixes rapid VRAM growth introduced in 0.10.0.
For resolution, HDR or frame-cap changes, continue with the current display settings after the version comparison.
Run a direct-versus-Steam comparison before rebuilding. Issue #823 describes 0.10.0 on Windows: direct launch was smooth on the reported setup, while the Steam launch stuttered.
Start directly, load a save and follow a short route. Close the game, then repeat through Steam with the same save, cap and graphics settings. Record frame timing and the launch method.
Make sure both routes start the same game folder. For a native Linux AppImage build, the finished game’s play.sh sets its working directory. Use the Steam shortcut steps rather than adding the builder as the everyday game.
A comment on #823 reports improvement after switching off Steam → Settings → Downloads → Shader Pre-Caching → Enable Shader Pre-caching. Note the original value, change it for one comparison, then restore it if it does not help. This is a global Steam option, affecting other games too.
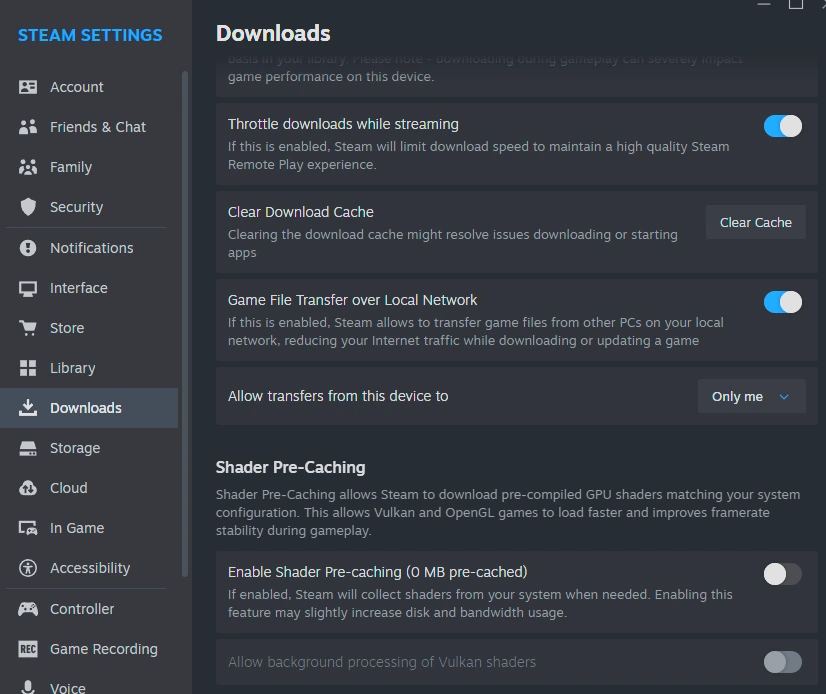
Downloads → Shader Pre-Caching
The example’s Enable Shader Pre-caching switch is off
Real English Steam screenshot supplied in the 0.10.0 issue discussion. The switch is off in this example. The option applies to Steam globally; the direct-versus-Steam comparison tells you whether this launch context matters.
Image source ↗ Open full-size image ↗
Keep the Steam setting, overlay state and direct-launch result with the log. For a frame-cap change that affects both routes, return to the display cadence comparison.
Close the game, switch the newest mod Off, then start the same save. If the mod includes code patches, complete the requested rebuild first. Keep the archive and save backup while comparing.
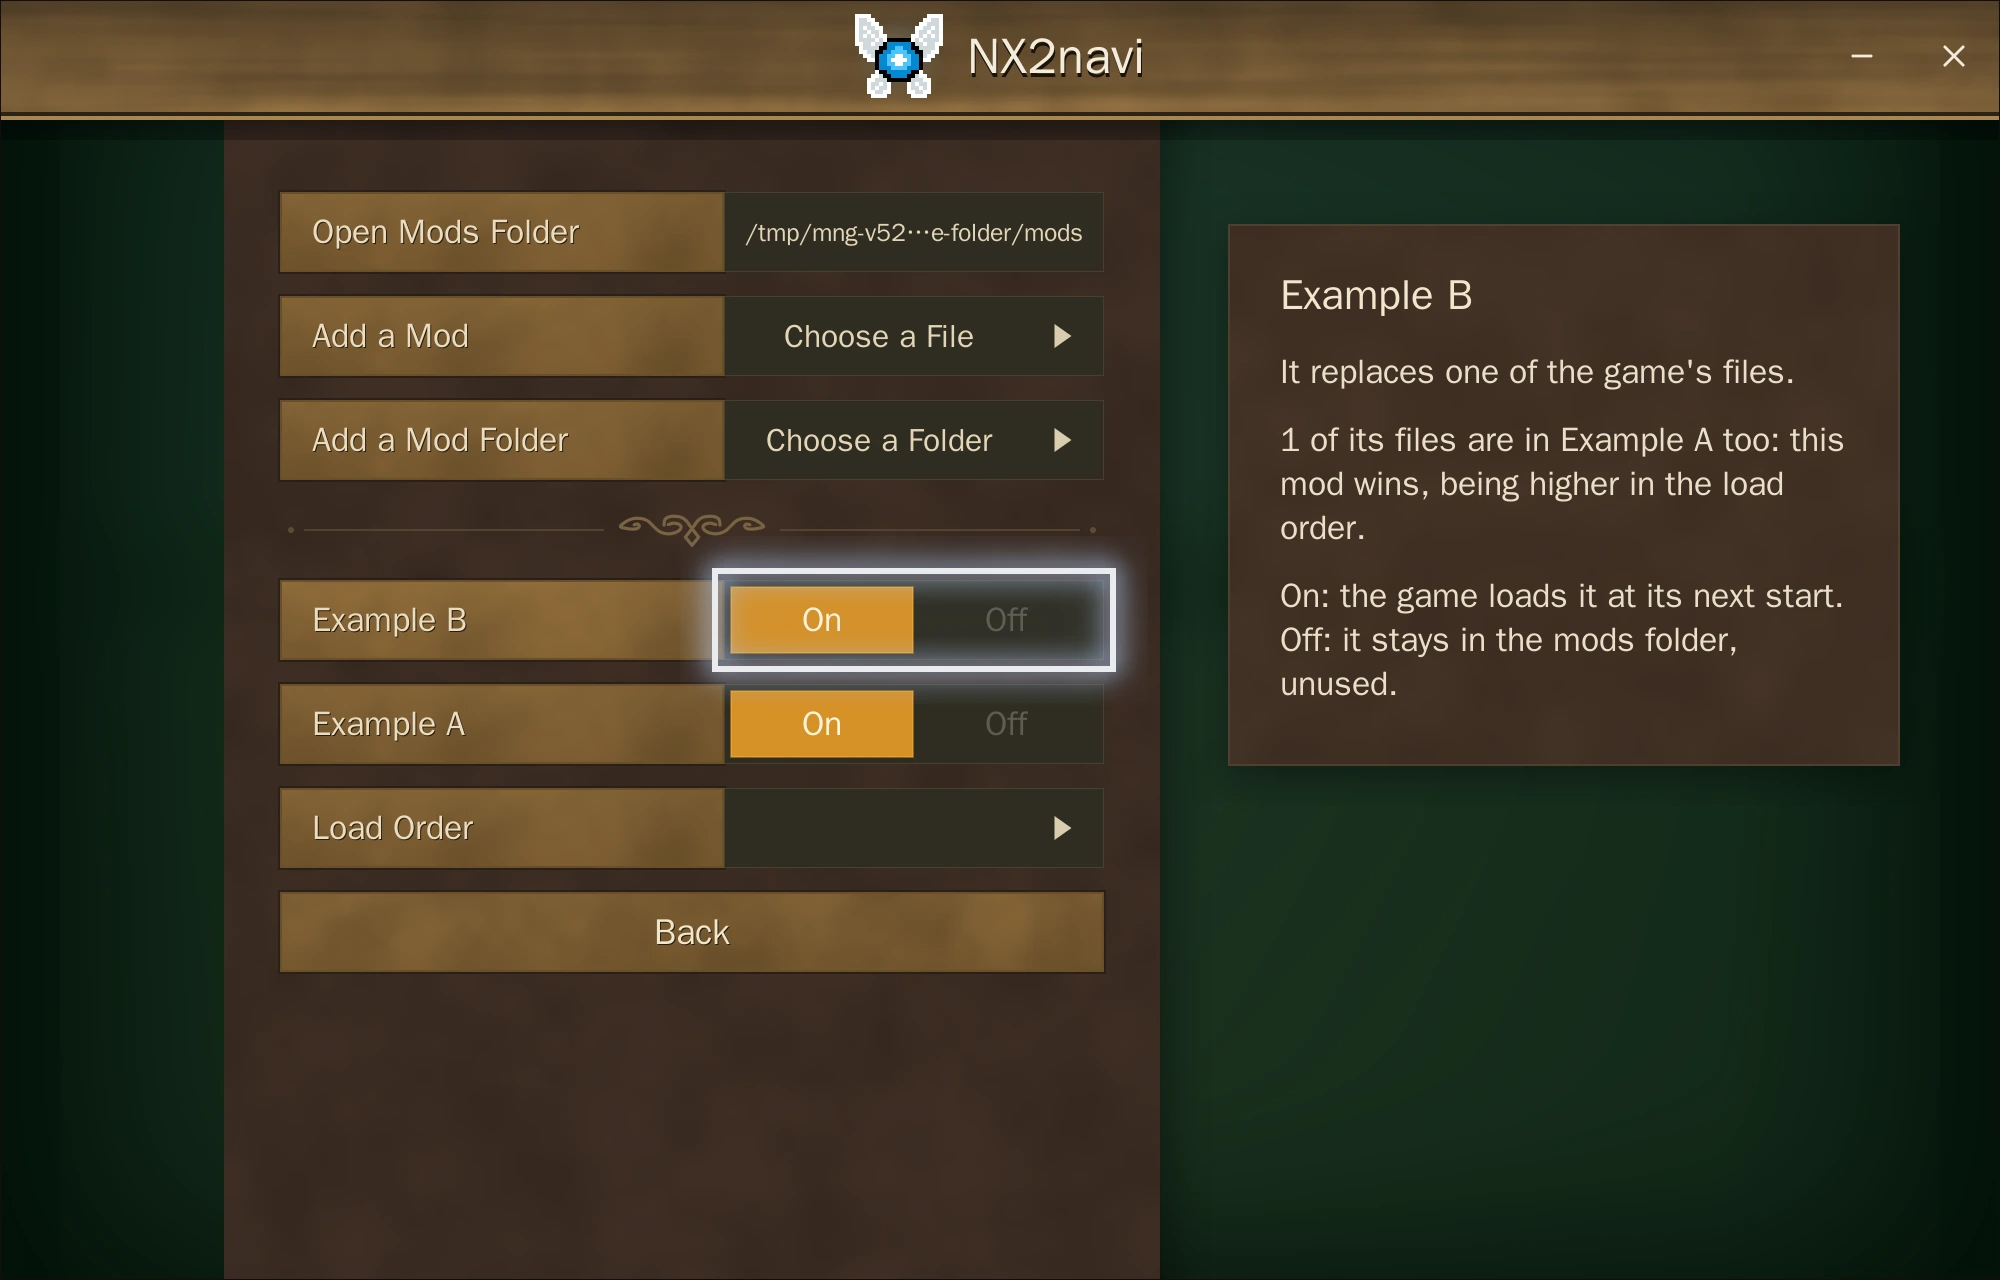
Find the changed mod’s row
Choose Off on that row, then restart the game
Real English 0.10.1 source-launcher controls with the authored Example A and Example B folders used in the mod walkthrough. The matching names and On/Off choices identify the row to change.
Image source ↗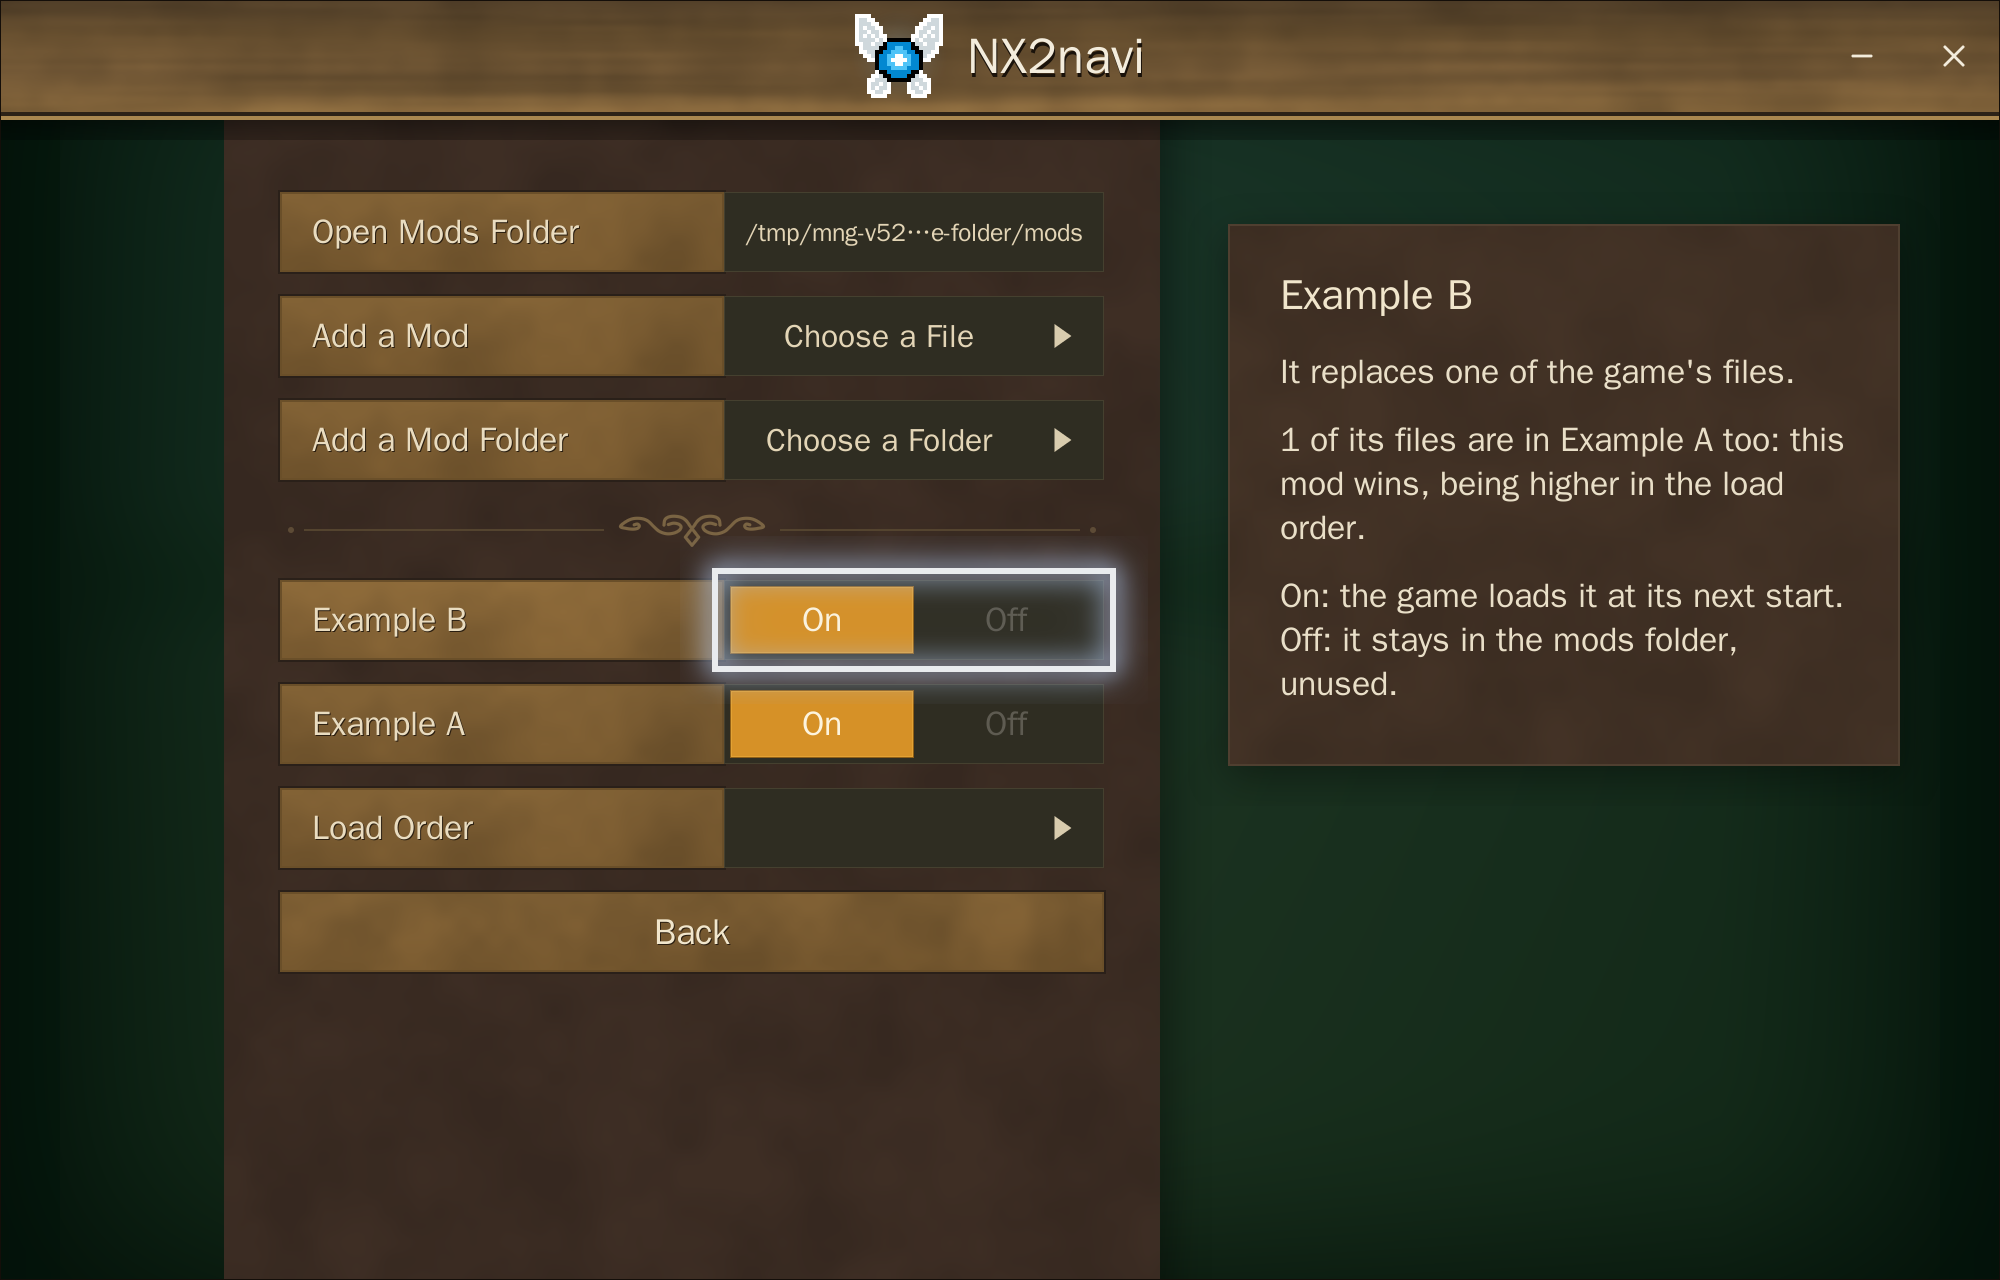 Open full-size image ↗
If the baseline works, check the mod’s required game update, companion mods and duplicate-file order before re-enabling it. Follow disable/remove, resource versus code rebuild or load-order steps for that task. If the clean game still fails, use the matching runtime case above.
In 0.10.0 or 0.10.1, focus the running game and press F8. Keep the capture number from “Bug capture … saved.” For a crash that has already exited, save the log instead.
Inside the built game folder, open logs, then captures and its numbered timestamp folder. capture.txt is written last. The folder combines the frame, settings, recent log, timings and save export.
State the version, platform, GPU/driver, save/area, action and clean-baseline result. Review the capture before attaching it: it includes a screenshot, local context and game progress.
logs/captures/<number-date-time>/capture.txtThe selector’s report fills the version, platform and symptom for you. Add the missing hardware and reproduction details, then use NX2navi GitHub Issues. Game dumps and keys are not needed for a support report.
This guide follows 0.10.1 and source 5ae55db, reviewed 14 November 2026. Versioned issue cases remain labelled beside their steps and images.