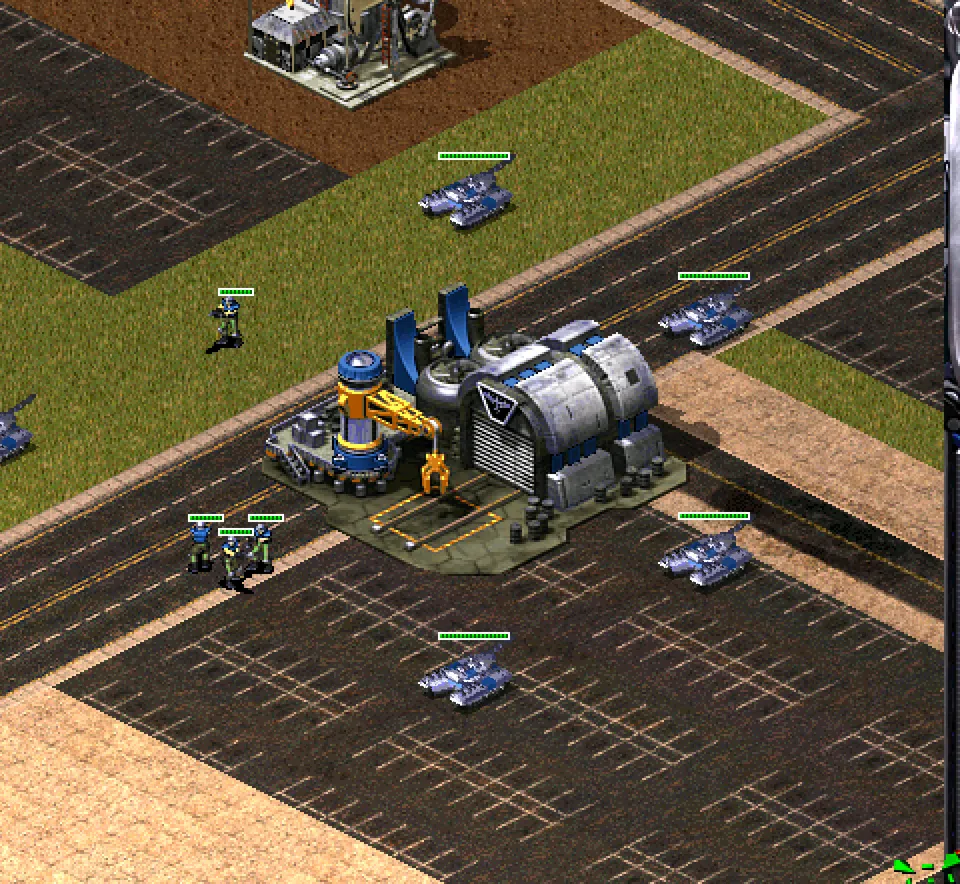
Red Alert 2 on Mac: GitHub Builds & Yuri’s Revenge
Turn your own Windows game installation into a native Apple silicon build. Choose a GitHub project, match the original game version, then follow its build, launch and save-backup steps.
Both routes produce native programs from your own Windows game files. They use different recompilers and launchers. Pick one column below and keep its commands, settings and save paths together.
SOURCE BUILD · X86RECOMP
MacNativeGames
Choose this if you want the source-controlled workflow in the MacNativeGames repository. Its RA2 folder is separate from the project’s Switch builds.
Apple silicon, macOS 26 or later.
Steam executable builds: RA2 1.006 and Yuri 1.001.
Build script produces separate ra2 and yr programs.
Saves and changes use per-game Application Support folders.
Choose this if you prefer a window that selects your game folder and starts the local build. The installer prepares the build environment; it is not a preinstalled copy of either game.
Apple silicon Mac, Homebrew and Xcode Command Line Tools.
RA2 1.006 / Yuri 1.001 from Steam or EA App.
Installer 0.1.3; source-build commands are available too.
The Windows Steam store entry supplies the original game, rather than an official Mac edition. These native recompilations are also separate from Wine/cnc-ddraw wrappers. For a broader Windows-game route, compare FX Steam Launcher’s SteamOS VM; for ready-made publisher releases, browse native Steam games.
Match the game version and copy the whole installation
The two games share data, but use different executable builds
Game
Version and executable
Input to keep
Red Alert 2
1.006 · GAME.EXE / game.exe
Full installed game data, including MIX archives and Blowfish.dll.
Yuri’s Revenge
1.001 · gamemd.exe
The expansion plus the base data it uses. Keep the whole combined installation.
Start with the copy you own
Install the Windows game through your Steam or EA account on a suitable system, then copy its complete installation to the Mac. Use Steam files for the MacNativeGames route: that source verifies the exact Steam executable hashes.
Use one stable game-data folder
The examples below use ~/Games/RA2-install/. Replace that path with your actual folder. Keep it outside the source checkout and temporary build directory so a rebuild does not remove your input data.
Check files before starting the build
Open the folder in Finder. Look for the game executable, data archives and Blowfish library. For the expansion, also confirm gamemd.exe is present. A lone executable, a shortcut, a Switch NSP or a renamed unrelated build will not supply the required installation.
~/Games/RA2-install/
├─ GAME.EXE          ← Red Alert 2 1.006
├─ gamemd.exe        ← Yuri’s Revenge 1.001
├─ Blowfish.dll
├─ *.mix             ← keep all installed archives
└─ other installed game files
Use macOS 26+ on Apple silicon and install Xcode Command Line Tools. Full Xcode is needed for the separate iOS build; the Mac route uses the command-line tools. Homebrew’s native Apple silicon location is /opt/homebrew. If it is not installed, use the instructions at Homebrew’s official site. To request the Apple command-line tools, run the command below and complete the macOS installation window. If they are already installed, continue to the dependency check.
Apple Command Line Tools · request installation if missing
The Pillow check is for the Python environment that the scripts use. If it fails again, confirm which python3 is active before retrying. OpenCC belongs to the optional Simplified Chinese conversion; it is not required to choose English.
02
Check out the source used by this guide
Run this from a workspace where a new MacNativeGames folder can be created. Replace the game path in the last line. If you already have a checkout, keep its working changes and use a separate copy for this version instead of resetting it.
MacNativeGames 9fe3fdc · source and local build
git clone https://github.com/ly05010419/MacNativeGames.git
cd MacNativeGames
git checkout 9fe3fdc1d08ce5e1a64d120f257d79cc2dc7c0ca
cd windows_games/ra2
scripts/build.sh "$HOME/Games/RA2-install"
scripts/build.sh builds the lifter, checks your executable hashes, generates C++ from the game and compiles the Mac programs. It builds Yuri too when the selected installation contains gamemd.exe.
Your full installSteam 1.006 / 1.001→Lift & compilescripts/build.sh→Native programsbuild/main/ra2 + yr
03
Keep the output and run from this folder
The default output is windows_games/ra2/build/main/ra2, plus build/main/yr for the expansion. These are command-line launchable programs, not a Finder .app created by the Switch builder.
The script defaults to six compiler jobs. If compilation runs out of memory, retry the same input with fewer jobs; it keeps the incremental build.
MacNativeGames · lower build concurrency if needed
This is a separate repository: sp00nznet/redalert2-recomp. Download its 0.1.3 macOS arm64 installer ZIP, rather than a Windows executable or GitHub’s source-code archive.
Open the official installer
Extract RA2-Recomp-Installer-macos-arm64.zip and open its Mac application. If macOS shows a first-open warning, match the exact message in the downloaded-app guide. Keep security settings enabled; use the original release asset.
Select your complete game installation
Use the installer’s game-folder control to select the directory that contains the original executables and MIX files. Check the selected path before starting. Its Steam/EA discovery is a convenience; your actual files still need to match RA2 1.006 and Yuri 1.001.
Build locally, then choose Play
Use Build my recomp. The installer prepares dependencies and performs the native build on your Mac. Its Mac configuration budgets roughly 30–60 minutes and 6 GB for a first build; keep additional space for your own game data. Read any dependency prompts before agreeing to changes. Use Play once the build has completed.
Choose your installed game folder
Select your installed game
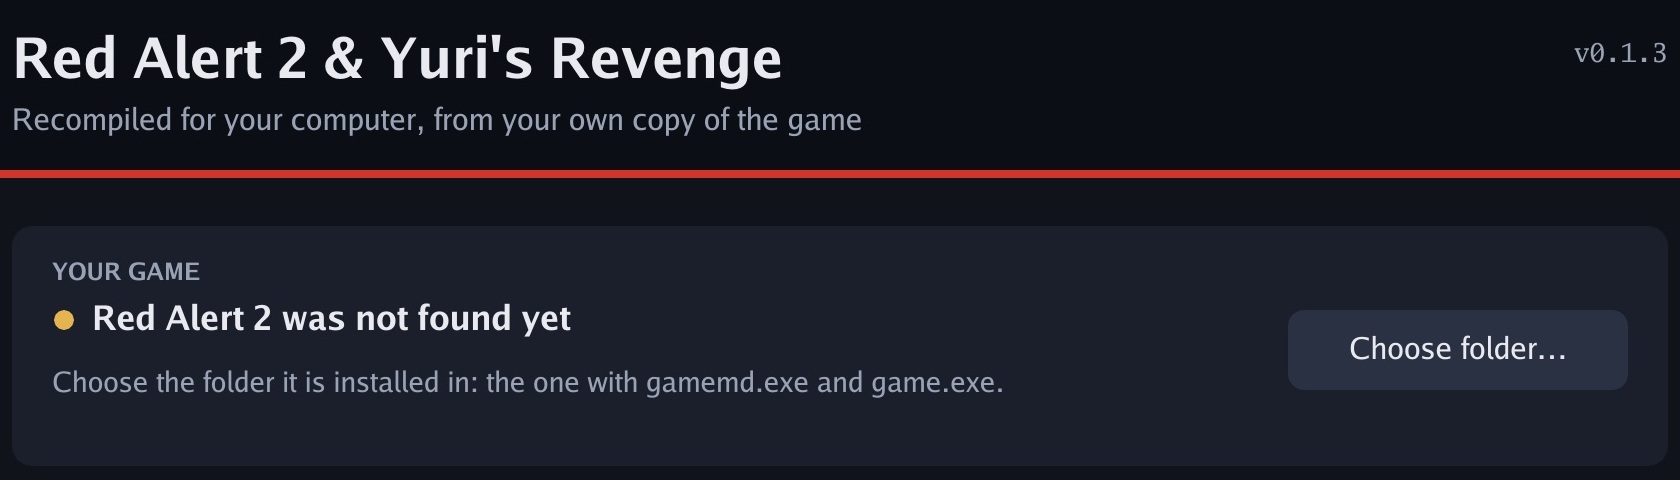
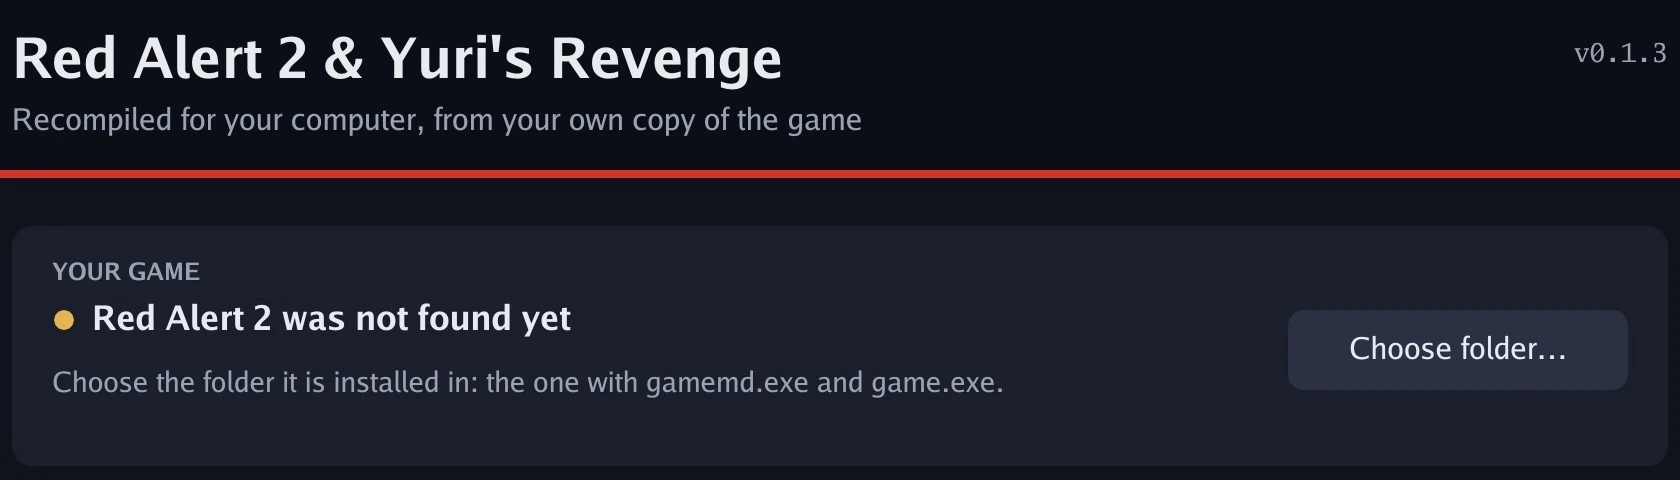
In installer 0.1.3, choose the folder containing game.exe, gamemd.exe and the game data. The initial “not found” message clears once you select a valid installation.
Build my recomp is disabled in this initial state. Select a valid game folder first. The separate Where to build it → Change… control selects the workspace for downloaded source and build output; keep that separate from your game data. Local capture, installer 0.1.3.Prefer Recomp’s source build instead?
Use a separate redalert2-recomp checkout at source 4ecdea4, then run from its root:
Red Alert 2 Recomp · native setup, not the Wine route
The native setup produces Red Alert 2 (recomp).command and Yuri's Revenge (recomp).command launchers. The optional --wine mode is a different route. Do not copy MacNativeGames’ scripts/build.sh into this project.
The installer’s version identifies the installer, while its build configuration can fetch current source. Keep the revision printed in your setup log when you build. For an exact source reference, use the dated source instructions alongside the 0.1.3 release notes.
Run the right game and set up the picture
MacNativeGames commands
Run from MacNativeGames/windows_games/ra2/. Choose one command for the game you want:
MacNativeGames · Red Alert 2, English
build/main/ra2 --language en
MacNativeGames · Yuri’s Revenge, English
build/main/yr --language en
The build remembers its game-data folder. To select another matching installation, add --game "/full/path/to/install". Choose English explicitly if macOS otherwise selects another language.
Red Alert 2 Recomp commands
Use the generated launcher or Play control. For a direct launch, run from the Recomp source root:
Recomp · Red Alert 2 base game
build-macos-game/ra2 --run
Recomp · Yuri’s Revenge expansion
build-macos/ra2 --run
Both programs are named ra2; the directory selects the game. --run enters gameplay. Without it, the host can stop after its diagnostic mapping step.
Single Player and Options
Start with Single Player
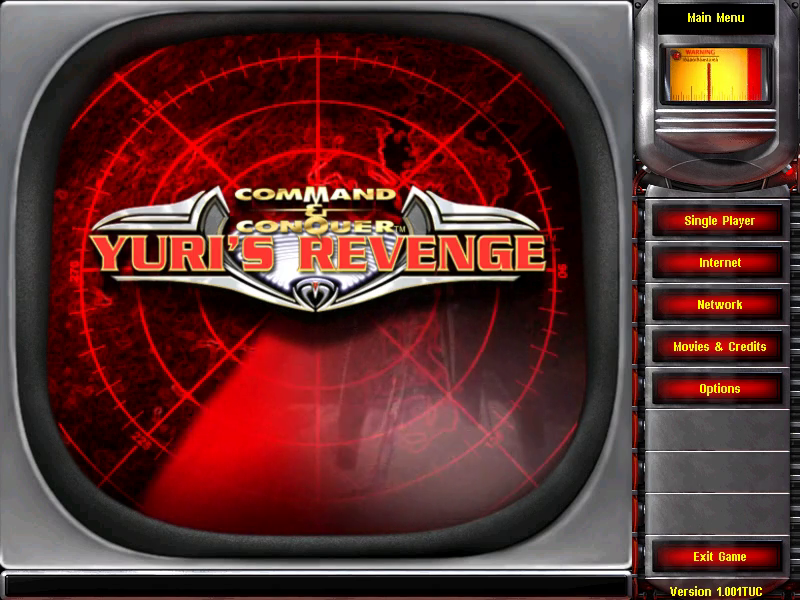
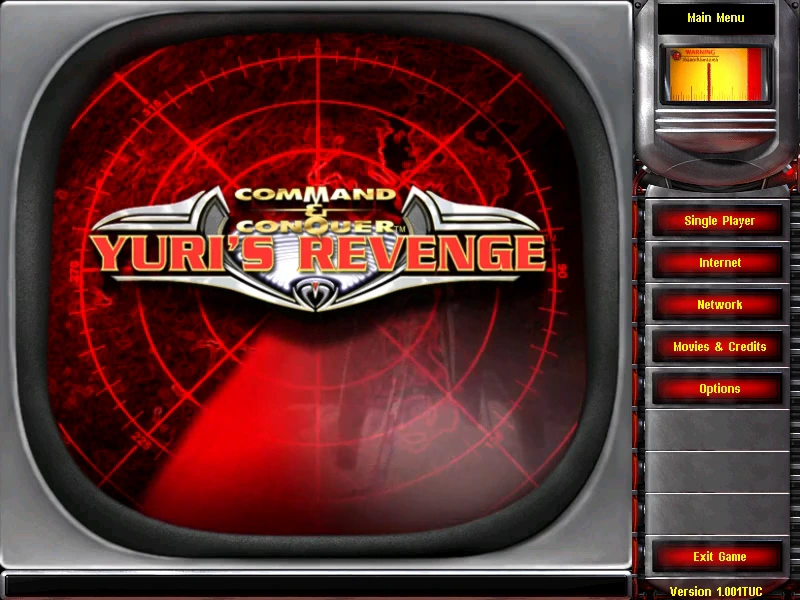
Choose Single Player for campaign or skirmish, or Options for game settings. This Yuri’s Revenge screen shows version 1.001TUC.
Resize the window or use its green fullscreen button. Its launcher supports --resolution auto, a fixed WxH, or ini, plus --fps-cap N and --sidebar-scale X.
Recomp display
On a Mac keyboard, use fn + F10 for host settings, fn + F12 to cycle scaling, and Option + Return for fullscreen. If function keys already send F-keys, omit fn.
Start with a small skirmish
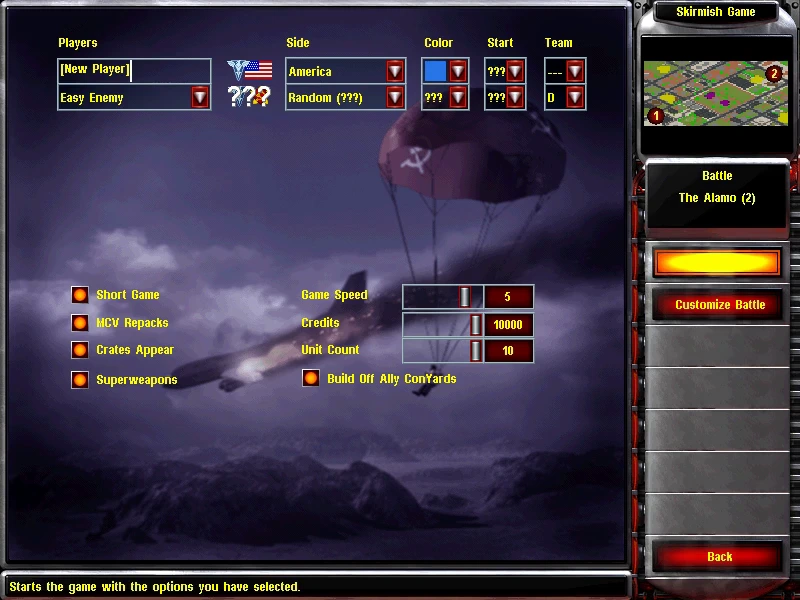
Choose Single Player, then Skirmish. Pick a map and one easy opponent. Confirm the pointer, edge scrolling, unit selection and audio before changing resolution or adding mods.
Choose players and sides
Game speed and starting resources
Choose your side, then set the match
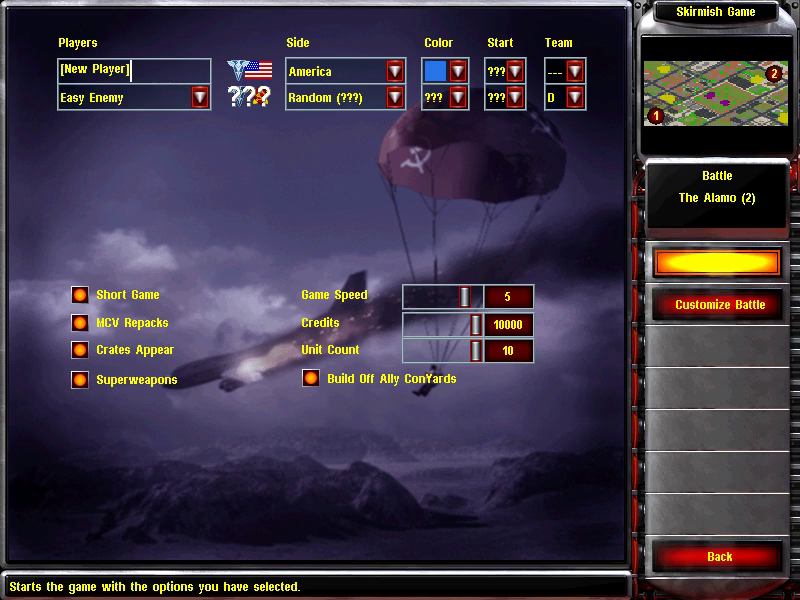
Use Player / Side / Color / Team to choose participants. Customize Battle sets game speed, credits and starting units. Start with one easy opponent, then change one setting at a time.
For a repeatable baseline, leave HD packs and extra mods off, save after a short match and test loading it. Recomp’s optional visual enhancements have their own host controls; they are separate from the original game’s difficulty and speed settings.
Back up saves from the project you actually run
Quit the game before making or restoring a copy. A build folder, an app and a game-folder pointer are not interchangeable save backups. Use the matching route below.
MACNATIVEGAMES · WRITABLE OVERLAY
Back up each game’s Application Support folder
In Finder, choose Go → Go to Folder or press Shift + Command + G. Paste the folder for the game you played:
The runtime reads your original install and keeps game writes in its overlay, including saved progress and settings. Copy the whole matching root to a dated backup outside the source and build folders.
RED ALERT 2 RECOMP · SELECTED GAME FOLDER
Back up the installation used by the launcher
Recomp changes its working directory to the selected game installation. Back up that folder, including its save files and game INI files. Keep host display settings separately: the native host’s ra2.ini is beside its executable.
Your selected RA2-install/
├─ original game data
├─ game save files
└─ game INI files

Recomp build output/
├─ ra2              ← native host
└─ ra2.ini          ← host display settings
A packaged Mac app can remember the selected folder in ~/Library/Application Support/Red Alert 2 Recomp/. Its ra2-game-folder and yr-game-folder files are path pointers. Copying only those files does not back up progress.
Make a backup and verify a restore
Save, quit and copy. Keep the original folder intact. Give the external copy a date, game name and project/source version.
Confirm you can identify the save. Reopen the same game and project, then find the expected campaign or skirmish save in Load Game. Quit again before changing files.
Preserve the current folder before restoring. Move it aside under another name. Put a copy of the backup in the original location; keep both copies.
Load and check. Open the matching base game or expansion and verify the expected mission and progress. Keep your backup after the first successful load.
When moving between projects, keep independent backups and test a copy. Each host has its own settings and writable layout. Native community builds do not automatically inherit Steam Cloud behavior from the Windows store listing.
Find the first failure, then follow its route
MacNativeGames: SHA-256 mismatch during the lift
Read the module named in the error: GAME.EXE, gamemd.exe or Blowfish.dll.
Compare it with the Steam 1.006 / 1.001 build in the fixed source. Restore the matching files from your own installation.
Keep the hash checks intact. Another executable version requires new analysis lists and checked game-specific patches; renaming the file does not make the code match.
MacNativeGames: no game program, or only the lifter built
Confirm you ran scripts/build.sh from windows_games/ra2 with the correct installation path. A direct CMake configure can build only the lifter when generated code is absent.
Check that GAME.EXE is present and that the lift finished. Read the first failed command rather than just the final build summary.
If only Yuri is missing, check gamemd.exe in that same input folder, then run the script again.
MacNativeGames: SDL3, FFmpeg or LLVM cannot be found
Install the dependency named by the first error. Confirm native Apple silicon Homebrew is available in /opt/homebrew.
The script defaults to LLVM under /opt/homebrew/opt/llvm. Keep custom toolchain overrides separate from the default recipe.
Retry the same command after correcting that dependency. For a compiler process killed under memory pressure, reduce JOBS instead of deleting the working build.
Recomp: executable is not the build the host was lifted from
Check the selected game directory and whether the launcher targets the base game or Yuri.
Use RA2 1.006 or Yuri 1.001 from a supported Steam/EA installation. Keep a backup before replacing an executable.
Rebuild with the intended source/input pair; do not substitute MacNativeGames hashes or launcher flags into the Recomp project.
Recomp: launch prints a diagnostic but never starts the game
Use the generated .command launcher or the installer’s Play control.
For a manual invocation, add --run. Use build-macos-game/ra2 for the base game and build-macos/ra2 for Yuri.
Keep the selected input directory available at its original path, or select it again.
Recomp: an old Mac build stays in the Dock after quitting
Version 0.1.3 includes a macOS quit-hang fix.
Back up the selected game folder and retain your old working build, then update/rebuild through the same project.
If a current build still hangs, include its source version and runtime log when reporting the exact exit sequence.
A save is missing after switching launcher or updating
Confirm which project and game you opened. The MacNativeGames ra2 and yr overlays are separate; Recomp writes into its selected game directory.
Check the old folder before creating new saves over your current progress. For a packaged Recomp app, its Application Support file records a path, not the saves themselves.
Restore a copy of the correct backup using the steps above, then verify the expected mission in Load Game.
The pointer, picture or settings look wrong
Start without extra mods or HD packs and use the project’s default display settings.
In Recomp use the host settings/scaling controls; in MacNativeGames compare auto resolution with one fixed size.
Repeat the same skirmish and change one display option at a time. Keep a screenshot of the exact affected area if you report a rendering issue.
Keep the log that matches your launch method
Recomp setup: keep setup.log from the source/setup workspace.
Packaged Recomp apps:~/Library/Logs/Red Alert 2 (recomp).log or ~/Library/Logs/Yuri's Revenge (recomp).log.
MacNativeGames: retain the Terminal output from the normal launch. Its scripts/run_attempt.sh is a developer diagnostic with a time limit; use the ordinary run command for a match you want to keep playing.
Include the Mac model, macOS, project revision, game version, launch command and first error. Share the relevant log excerpt and screenshot rather than the game data or your compiled game.
Update the program while keeping the working game
Record the working combination
Keep the project name, source revision, game executable version and launch method alongside a dated save backup. Keep your original game installation available.
Build separately before replacing
Use the new project version in a separate workspace. Reuse your matching owned input files; avoid changing the game version, project and display settings at the same time.
Check progress before continuing
Open the intended base game or expansion, load the expected save and run a short skirmish. Verify controls and audio. Keep the old build and backup until the new combination works for your play session.
The MacNativeGames and Recomp repositories evolve independently. A new installer release, a new host commit and a game patch are three different changes. Read the affected project’s changelog before switching.
The menu, skirmish and battle images are English game captures published by the Recomp project, cropped to show the relevant information. Game artwork belongs to Westwood Studios / Electronic Arts. The installer panels are local English captures of the official 0.1.3 Mac installer, with personal paths outside the crop. This guide does not distribute game files.